10 Things to Know Before Window Tinting in Rockville, MD
Window tint isn’t chosen by darkness alone. The right choice depends on your glass, vehicle, driving habits, and Maryland law.
Before booking, compare the finished VLT, film construction, product specifications, installation process, warranty, and aftercare. These details influence comfort, visibility, durability, and legal compliance.
Capital Wrappers installs automotive window film in Rockville. This guide explains the questions drivers should answer before approving an installation.
Window Tinting at a Glance
The table below covers the decisions you should make before the appointment.
|
Decision |
What to confirm |
Why it matters |
|
Main goal |
Heat control, glare, privacy, UV protection, or appearance |
Different products solve different problems |
|
Finished VLT |
Metered glass plus selected film |
The film label is not the final window reading |
|
Film identity |
Manufacturer, series, and shade |
“Ceramic” alone does not identify a product |
|
Legal fit |
Vehicle class and window position |
Maryland rules vary by regulated window |
|
Coverage |
Every window included in the quote |
Similar prices may cover different areas |
|
Installation |
Shop time, preparation, and old-film removal |
Vehicle design and removal work affect timing |
|
Warranty |
Product and workmanship terms |
The two forms of coverage are not identical |
|
Aftercare |
Window operation, cleaning, and follow-up |
Early handling can affect fresh film edges |
The most important step is identifying the exact product. A category name or shade percentage isn’t enough information.
1. Decide What You Want Window Film to Do
Begin with the result you want, not the darkest sample. A daily commuter may value heat control and clear nighttime visibility.
Another driver may care more about rear-cabin privacy or a uniform exterior appearance. These goals can lead to different products and shades.
Common priorities include:
- Reducing solar heat inside the cabin
- Limiting glare during daytime driving
- Filtering ultraviolet radiation
- Adding privacy to permitted windows
- Protecting upholstery and interior surfaces
- Creating a consistent appearance across the vehicle
Drivers can compare heat-rejecting window film options before selecting coverage. Ask to see real samples instead of relying only on online photographs.
Cabin color, outside lighting, and camera exposure can make the same shade appear different. A physical sample provides a more useful comparison.
2. Understand VLT, Shade, and Heat Rejection
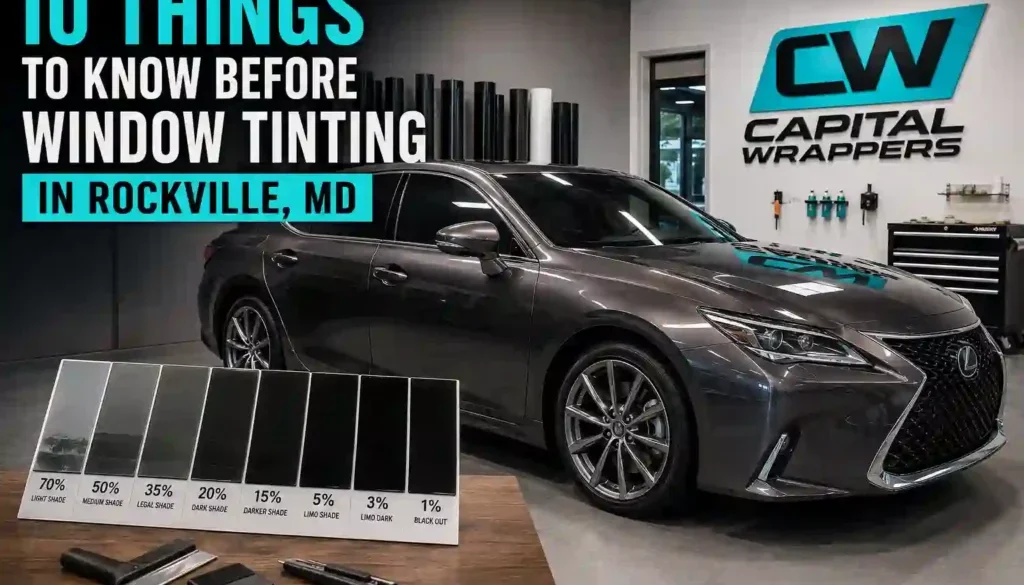
VLT means Visible Light Transmission. It measures the percentage of visible light passing through a window.
A higher VLT creates lighter-looking glass. A lower VLT creates a darker appearance and allows less visible light through.
VLT does not directly measure infrared rejection, ultraviolet rejection, or total solar performance. Darkness and heat control vary across film products.
A lighter ceramic film may reject more solar energy than a darker entry-level film. The exact result depends on the manufacturer and product series.
Ask the installer to explain these measurements separately:
- Visible Light Transmission, or VLT
- Ultraviolet rejection, or UV rejection
- Infrared rejection, or IR rejection
- Total Solar Energy Rejected, or TSER
Do not compare two films using one large percentage from separate test methods. Request the specification sheet for each exact product.
3. Measure Factory Glass Before Selecting Film
Automotive glass is not perfectly clear before aftermarket film is added. Many windows already reduce some visible light.
SUVs and trucks may also have darker factory privacy glass behind the front doors. That appearance is often created within the glass itself.
The final VLT depends on the existing glass and the added film. A film labeled 35% may produce a finished reading below 35%.
The installer should meter each regulated window before recommending a shade. This check is especially important on used vehicles with an unknown history.
Existing aftermarket film can be difficult to identify visually. Metering and edge inspection can help determine whether another layer is present.
Ask the shop to record:
- The untreated glass reading
- Any existing aftermarket film
- Scratches, chips, or damaged seals
- Rear defroster and antenna condition
- Stickers or equipment attached to the glass
Photograph existing damage before drop-off. This simple record protects both the vehicle owner and installer.
4. Check Maryland Window Tint Requirements
Maryland generally requires at least 35% light transmission through regulated windows. The finished glass-and-film combination is the important measurement.
The applicable windows depend on vehicle classification. Passenger cars and multipurpose vehicles have different rear-window restrictions.
Windshield film follows separate limits. Maryland may permit a narrow nonreflective strip near the top, subject to its requirements.
Review current Maryland window tint requirements before selecting a shade. That guide covers vehicle classes, windshields, medical exemptions, and inspection considerations.
Confirm these details before installation:
- Whether the vehicle is registered as a passenger or multipurpose vehicle
- Which windows are regulated for that classification
- The existing glass reading
- The estimated finished VLT
- Whether a medical exemption applies
Do not choose a film based on another vehicle. Different factory glass can create a different finished result from the same product.
5. Compare Dyed, Carbon, and Ceramic Film
Competitors often compare film categories, but category names are only the starting point. Performance varies by manufacturer and product line.
|
Film category |
General characteristics |
Main consideration |
|
Dyed film |
Entry-level appearance and glare control |
Lower-cost products may fade sooner |
|
Metalized film |
Reflective solar control and durability |
Metallic construction may affect some signals |
|
Carbon film |
Stable dark appearance without metallic construction |
Performance varies by series |
|
Ceramic film |
Strong solar performance with clear visibility options |
Usually costs more than carbon film |
|
Clear ceramic film |
Minimal appearance change with solar-control benefits |
Must still meet applicable windshield rules |
Carbon can suit drivers seeking a balance of appearance, durability, and price. Ceramic suits drivers who prioritize stronger solar performance and optical clarity.
Capital Wrappers offers SunTek carbon and ceramic options for different performance goals. The recommendation should still be based on the exact product data.
Ask to compare samples on your vehicle. View them from inside and outside under normal daylight before deciding.

Find Your Perfect
Window Film
Need help comparing shade, coverage, and film construction? Call 301-417-5977 or compare window film options before booking.
6. Confirm the Exact Film and Warranty
“Ceramic film” is not a complete product description. It does not identify the manufacturer, series, shade, or tested performance.
The written estimate should list:
- Film manufacturer
- Product line or series
- Selected shade or nominal VLT
- Windows receiving film
- Product warranty
- Installer workmanship coverage
Ask whether the shop is authorized to provide the stated manufacturer warranty. You should receive the required invoice and product documentation after installation.
A manufacturer warranty and a workmanship warranty address different concerns. Manufacturer coverage may apply to defined film defects.
Workmanship coverage may apply to installation issues. Each warranty can contain exclusions, claim procedures, and ownership conditions.
Confirm whether removal and replacement labor are included in a valid claim. Keep every document for as long as the film remains installed.
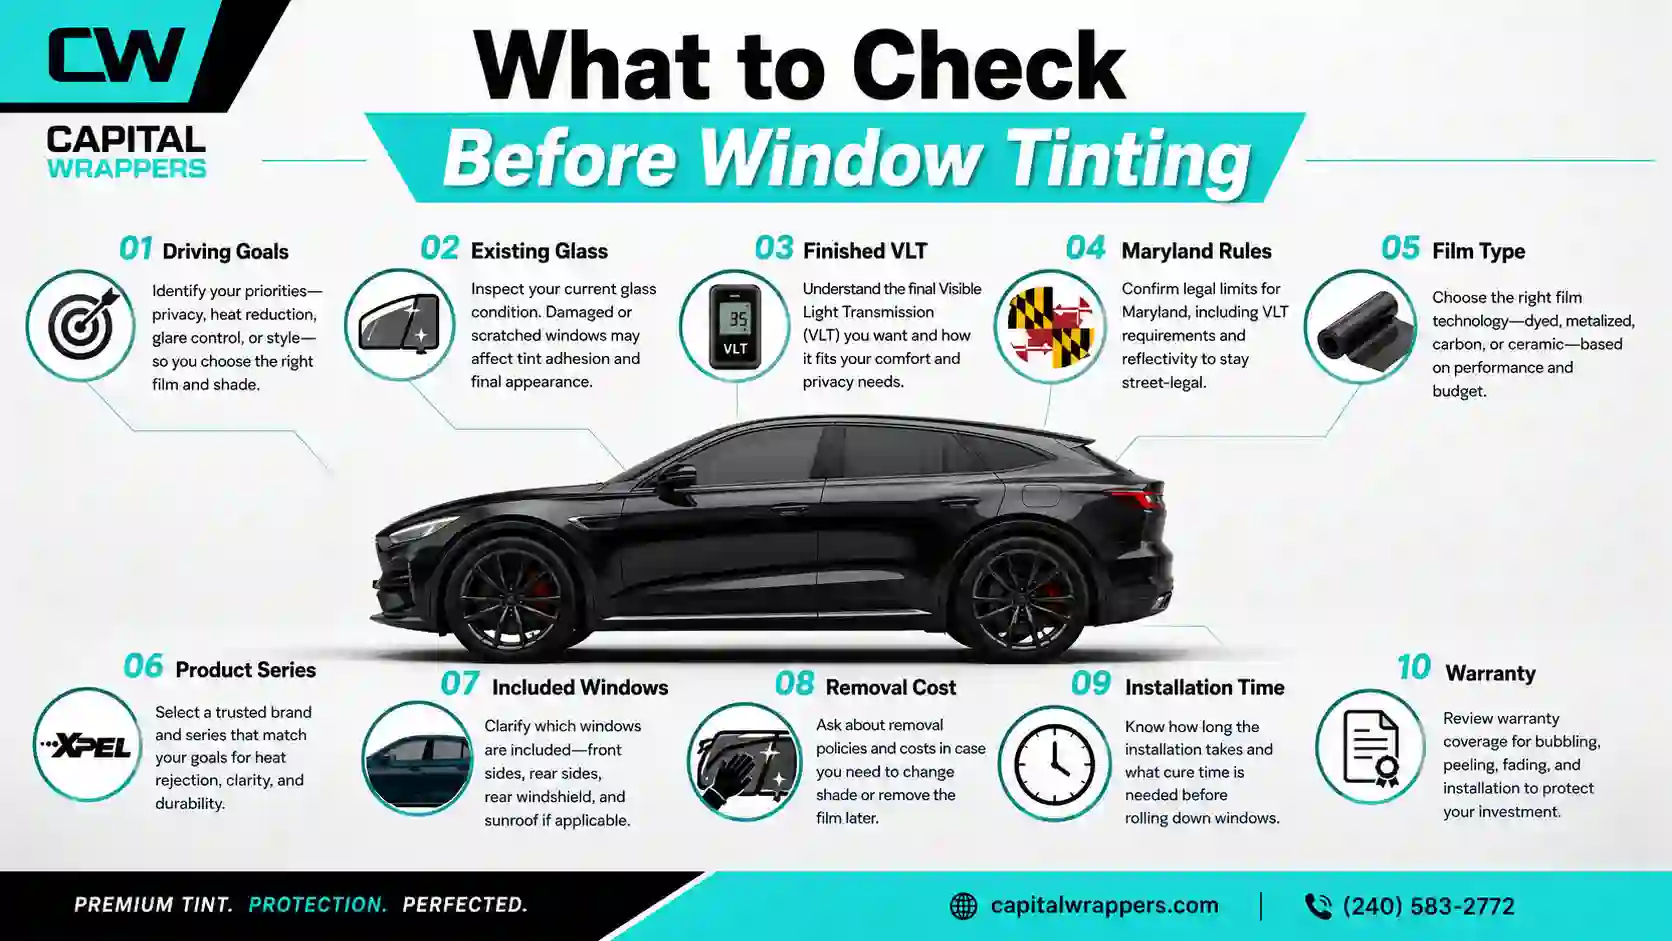
7. Compare Quotes and Removal Charges
The lowest total doesn’t always mean the same service. Quotes can differ by coverage, film series, preparation, and warranty.
A useful estimate should identify every included window. It should also separate optional glass and old-film removal.
Check whether the quoted package includes:
- Front door windows
- Rear door and quarter windows
- Rear glass
- Sunroof or panoramic roof glass
- A permitted windshield strip
- Existing film removal
- Adhesive cleanup
- Taxes and shop charges
Use the detailed guide to window tint pricing in Rockville for broader cost factors. Keep this page focused on preparation and product selection.
Capital Wrappers may need to inspect existing film before finalizing removal costs. Old adhesive and rear defroster lines can increase the required labor.
Never install new film over peeling or contaminated material without a documented reason. A clean glass surface provides the proper installation base.
8. Plan for Installation and Vehicle Preparation
Many standard vehicle appointments require roughly two to four hours. Larger vehicles, complex glass, and old-film removal can extend the schedule.
Shop time and curing time are different. The vehicle can be ready for pickup before the adhesive reaches its final appearance.
Before arriving:
- Remove valuables from the cabin
- Clear the rear shelf and cargo area
- Remove suction-mounted devices from the glass
- Move child seats if they block window access
- Provide keys needed to operate every window
- Disclose cameras, antennas, alarms, and aftermarket electronics
The installer will clean the glass as part of the preparation. Avoid applying oily dressings near windows before the appointment.
Tell the shop about frameless doors or automatic window-drop features. These systems can change edge placement and aftercare instructions.
Confirm the drop-off time, expected pickup, and preferred payment method. Ask whether colder weather could extend curing recommendations.
9. Understand the Installation Process
Automotive window film is normally installed on the interior side of the glass. Installers may shape it outside before moving it inside.
A typical professional process includes:
- Inspecting the vehicle and glass
- Measuring existing VLT when required
- Removing old film and adhesive
- Cleaning the glass and surrounding seals
- Cutting patterns for each window
- Heat-forming film for curved glass
- Applying film with an installation solution
- Removing moisture with a squeegee
- Inspecting edges, coverage, and clarity
Computer-cut patterns can limit trimming near painted or interior surfaces. Some unusual windows may still require careful hand finishing.
Rear glass often requires additional skill because of its curve, defroster lines, and dot-matrix borders. The installer should explain vehicle-specific limitations beforehand.
10. Know What to Expect During Curing
Fresh film may not look completely clear at pickup. Some installation moisture remains between the film and glass.
Light haze or small moisture pockets can be normal during curing. They should reduce as the moisture evaporates.
|
Period |
What you may notice |
What to do |
|
At pickup |
Mild haze or small moisture patterns |
Review written instructions |
|
First few days |
Gradual improvement as moisture leaves |
Keep windows closed as directed |
|
After initial curing |
Clearer appearance and stronger edge adhesion |
Clean only when permitted |
|
After the stated cure period |
Remaining defects become easier to assess |
Contact the installer about concerns |
Temperature, humidity, sunlight, glass shape, and film type influence curing time. Cold or damp conditions may extend the process.
Do not press, puncture, or scrape moisture pockets. Contact the installer about large bubbles, creases, contamination, or lifting edges.
Use a soft microfiber cloth and tint-safe cleaner after cleaning is permitted. Avoid abrasive pads, blades, and harsh chemicals.
Inspect the Finished Installation
Inspect the windows before leaving and again after the stated curing period. Use natural light when possible.
Check the following areas:
- Consistent coverage around each window
- Smooth and secure film edges
- Clear visibility through the main glass area
- Correct operation of moving windows
- Reasonable finish around dot-matrix borders
- Agreement between the installed shade and written order
Temporary moisture is different from a sharp crease or loose edge. Ask the installer to identify what should improve as it cures.
Collect the invoice, product name, shade details, warranty documents, and written care instructions. Do not leave with only a verbal product description.
Choose the Right Window Tint Installer
National guides emphasize product type, but installation quality matters just as much. Even premium film can look poor when preparation is rushed.
The guide to choosing a qualified tint installer covers shop evaluation in more detail. Before booking, inspect the facility and examples of completed work.
Positive signs include:
- A clean indoor installation area
- Exact film brands and product lines
- Written estimates and warranties
- Metering of existing glass
- Clear explanations of legal limits
- Finished vehicles available for inspection
- A documented process for resolving concerns
Be cautious when a shop refuses to identify its film. Also question guarantees that every vehicle will perform the same.
Avoid choosing only by price or social-media photographs. Lighting and editing can hide contamination, edge gaps, and poor optical clarity.
Questions to Ask Before Booking
Use these questions when comparing installers:
- What exact manufacturer and product series will you install?
- Will you meter my existing glass before selecting a shade?
- What is the estimated finished VLT?
- Which windows are included in the price?
- Does the estimate include old-film removal?
- How long will the vehicle remain at the shop?
- How long should the windows remain closed?
- What appearance is normal during curing?
- What does the manufacturer warranty cover?
- What workmanship coverage do you provide?
Clear written answers make products and quotes easier to compare. They also reduce confusion after the installation.
Verify Manufacturer Information
Product performance should come from the exact manufacturer and series. General category descriptions cannot replace a technical specification sheet.
Official SunTek automotive film information covers the manufacturer’s ceramic, carbon, dyed, metal-dyed, and clear product categories. SunTek also notes that actual results vary with glass properties and other factors.
Check the product name, construction, stated measurements, and warranty terms. Then ask how those details apply to your vehicle’s existing glass.
Conclusion
The best window tint decision begins before the vehicle enters the shop. Confirm your goal, factory-glass reading, legal VLT, exact product, coverage, installation time, and warranty. Compare technical information instead of choosing only by darkness or price.
Capital Wrappers helps drivers evaluate these details at 309C Howard Ave, Rockville, MD 20850. Bring information about existing film and preferred coverage. A vehicle-specific review supports a clearer recommendation and more accurate quote.
Ready To Plan Your
Window Tint Installation?
Ready to plan your window tint installation? Call Capital Wrappers at 301-417-5977 or request a tint quote for your vehicle.
Frequently Asked Questions
What should I ask before getting my car windows tinted?
Ask which manufacturer and product line will be installed. Confirm the expected finished VLT, included windows, removal charges, installation time, curing instructions, and warranty terms. Request a detailed written quote so you can compare coverage and products, not just price.
Does factory-tinted glass affect the final VLT?
Yes. Factory privacy glass already reduces visible light, especially on many SUVs and trucks. The installer should meter the untreated glass first and calculate how the selected film may affect the finished VLT. Choosing film by its label alone can produce a darker result than expected.
How long does window tint installation and curing take?
Many standard vehicles require about two to four hours. The schedule depends on glass count, vehicle design, film coverage, and old-film removal. Curing continues after pickup and may take several days or longer. Your installer should provide a realistic drop-off, pickup, and care schedule.
What should I avoid after getting my windows tinted?
Keep operating windows closed for the period specified by your installer. Avoid cleaning the film until permitted; when you do, use a soft microfiber cloth and a tint-safe cleaner. Do not scrape the surface, use abrasive pads, or disturb exposed edges while the adhesive is developing its bond.
Are small bubbles or haze normal after installation?
Light haze, moisture pockets, or a slightly uneven appearance can be normal while installation moisture evaporates. These effects should improve during curing. Do not press or puncture them. Contact the installer if large bubbles, lifted edges, creases, or debris remain after the stated cure period.
Is ceramic window tint worth more than carbon film?
Ceramic film may justify its added price when heat control, optical clarity, and color stability are priorities. Carbon film may offer better value when your main goals are appearance, privacy, and moderate solar control. Compare verified product data instead of choosing by category name alone.